PMI Design Guide for Engineers
PMI Design Guide
Status indicators are all around us in everyday life. So much that the average person — or even a seasoned engineer — may not appreciate how much we rely on status indicators every day.
The operation status of a device can be communicated using light pipes, panel mount indicators (PMIs), capacitive touch buttons, or some other form of light. In many cases, the light is combined with icons or text to enhance the user experience.
It’s not all about looks and cool, sleek interfaces, either. The European Union’s equivalent of OSHA cited HMI design as an emerging risk due to the increased dependence on technology in the workplace. Translation: HMI design has the power to influence safety and outcomes.
Effective status indication can:
- Enhance the end-user experience
- Prevent workplace accidents
- Improve operator reaction times
- Provide reliable indication for years
Fortunately, human-machine interfaces and control panels can be designed for optimal indication, whether they use PMIs, light pipes, or other illuminated communication signals.
This guide covers the key decisions designers and engineers must make to ensure their interfaces use the appropriate PMIs for the job.
The sooner the right PMI is specified, the fewer compromises will need to be made later when the design is set and tooling is completed.
What’s a Panel Mount Indicator (PMI)?
A panel mount indicator is a type of status indicator attached directly to a device’s operator panel rather than the machine's inner workings.
A panel mount indicator may also be known as a:
- Pilot light
- Indicator light
- Status indicator
Panel mount indicators go above and beyond communicating on or off status. These indicators are used in many industries to communicate operating and warning status to end-users. They can be powered with a range of lighting technologies — from LED panel mount indicators to neon or even incandescent PMIs.
What do PMIs look like?
While PMIs can be customized in many ways to suit the application and the industry, they are all typically made up of:

Power source
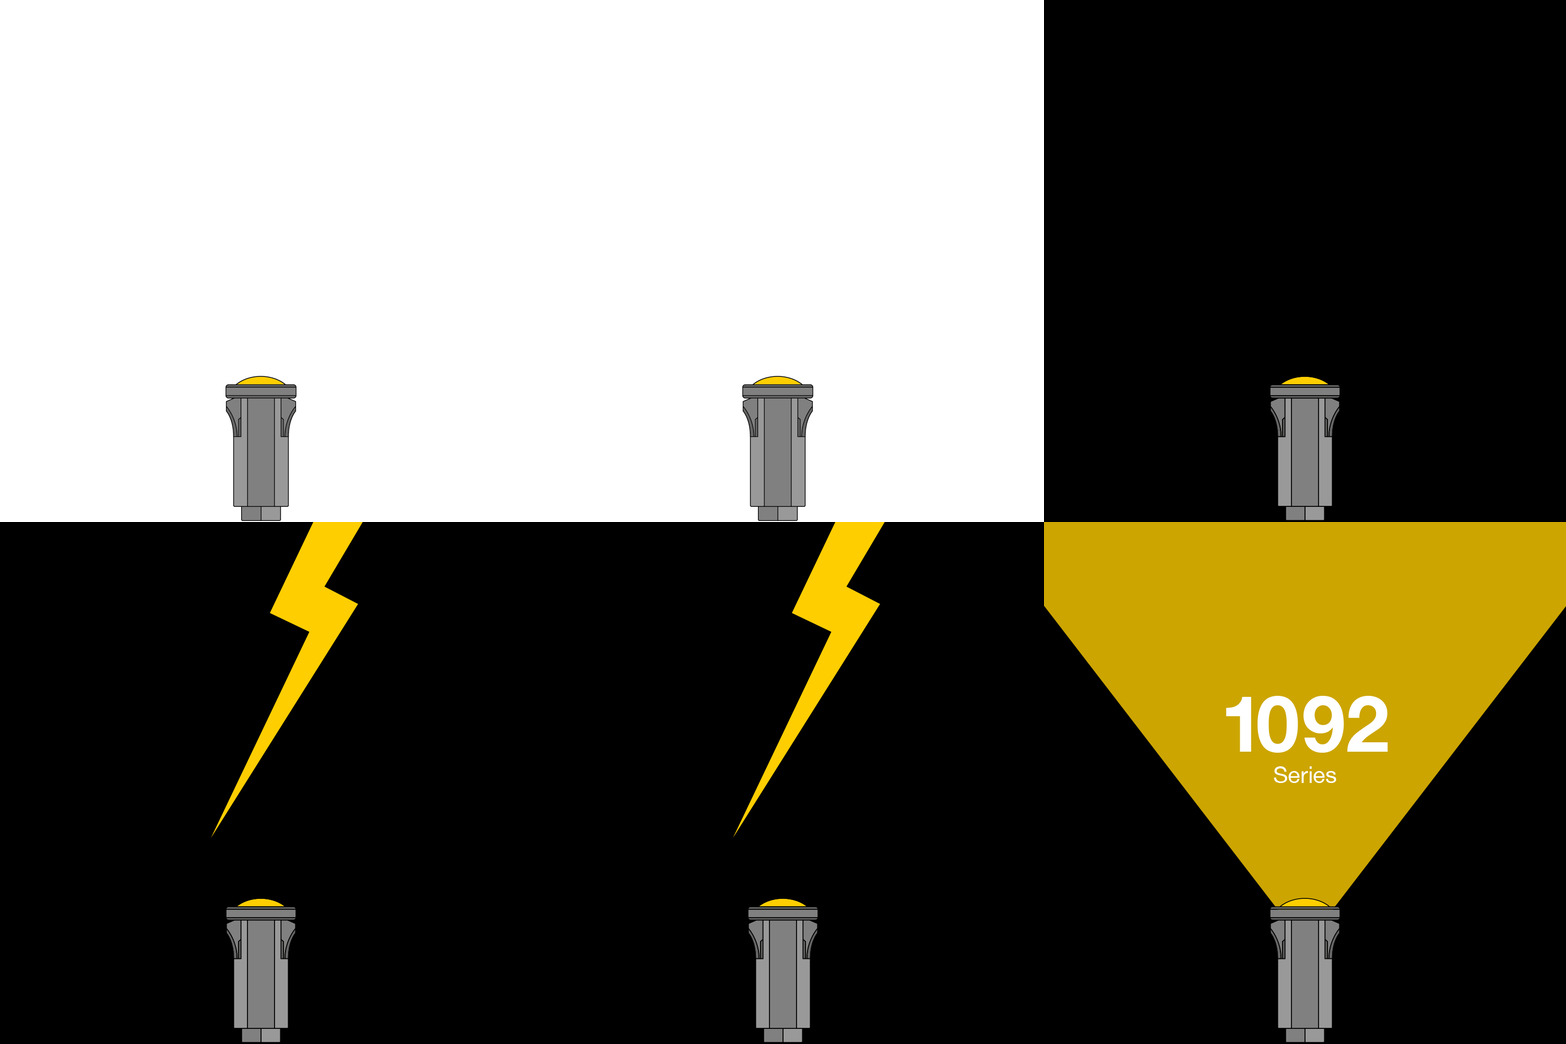
Terminal
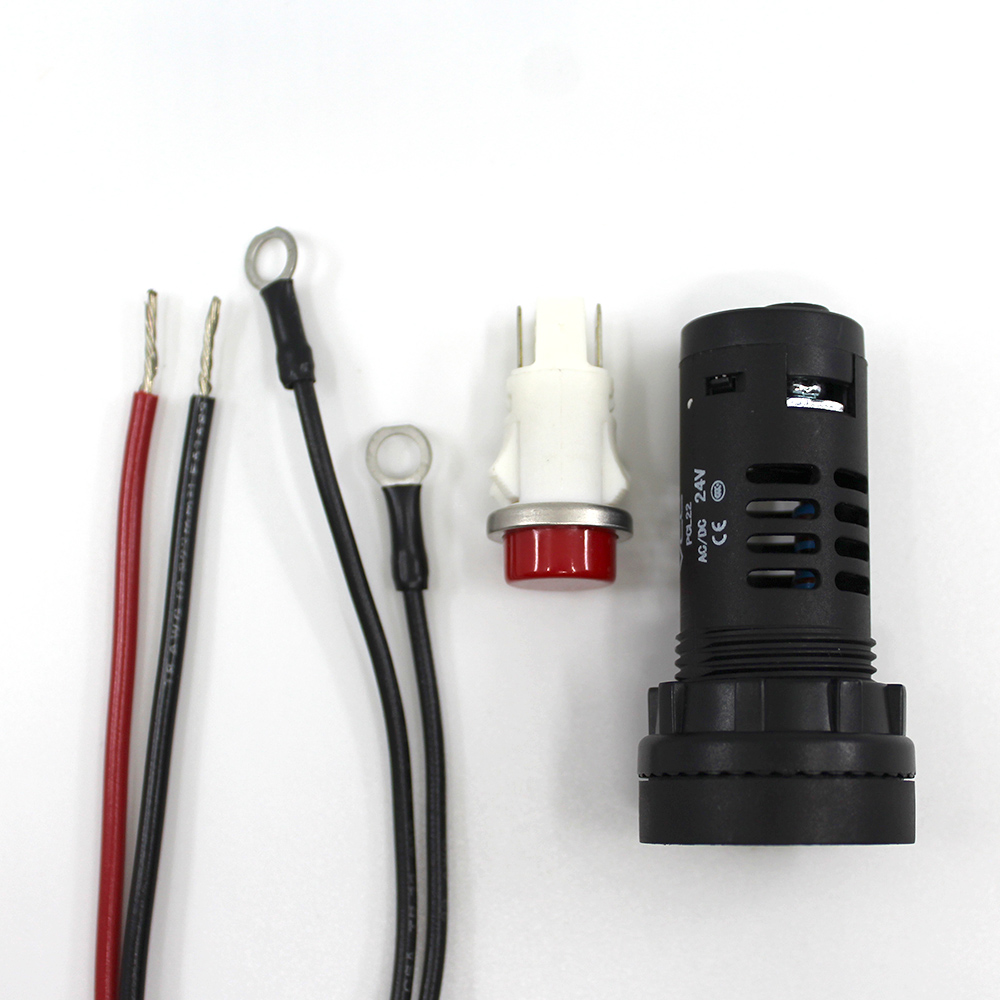
Housing
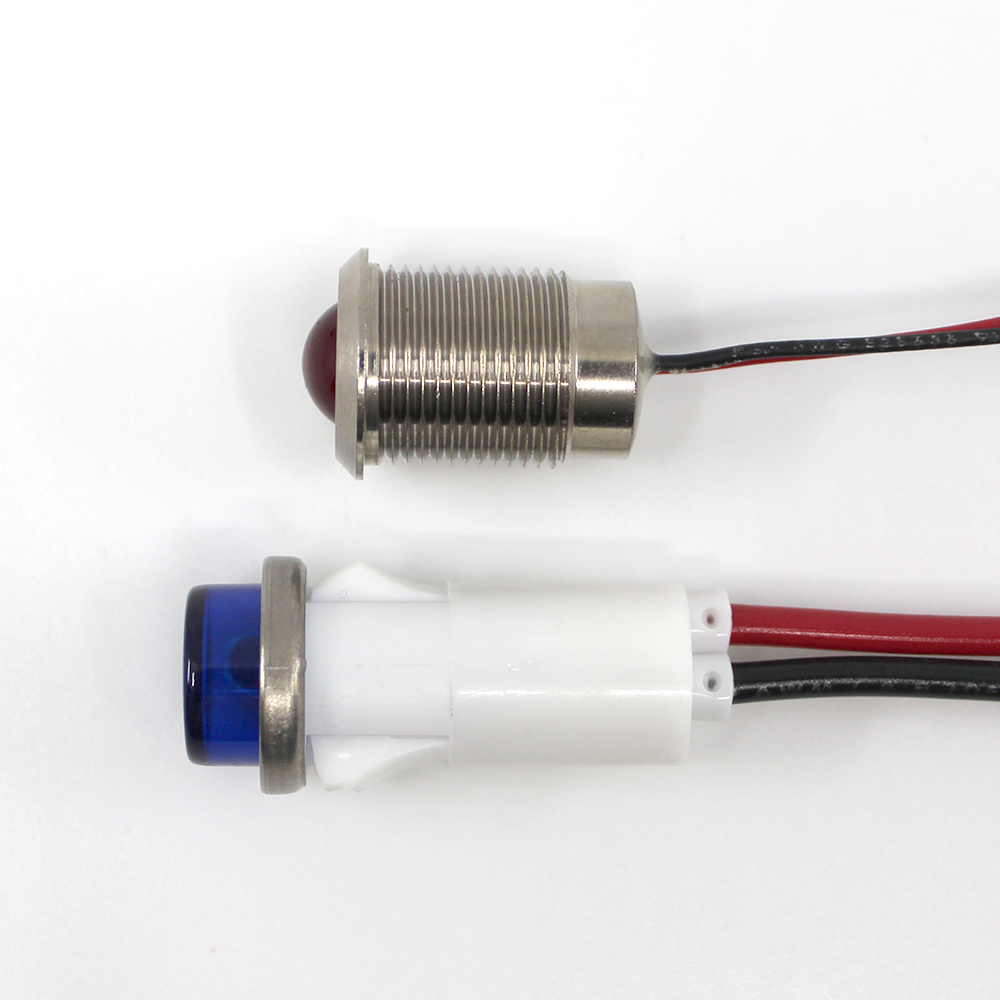
Light source
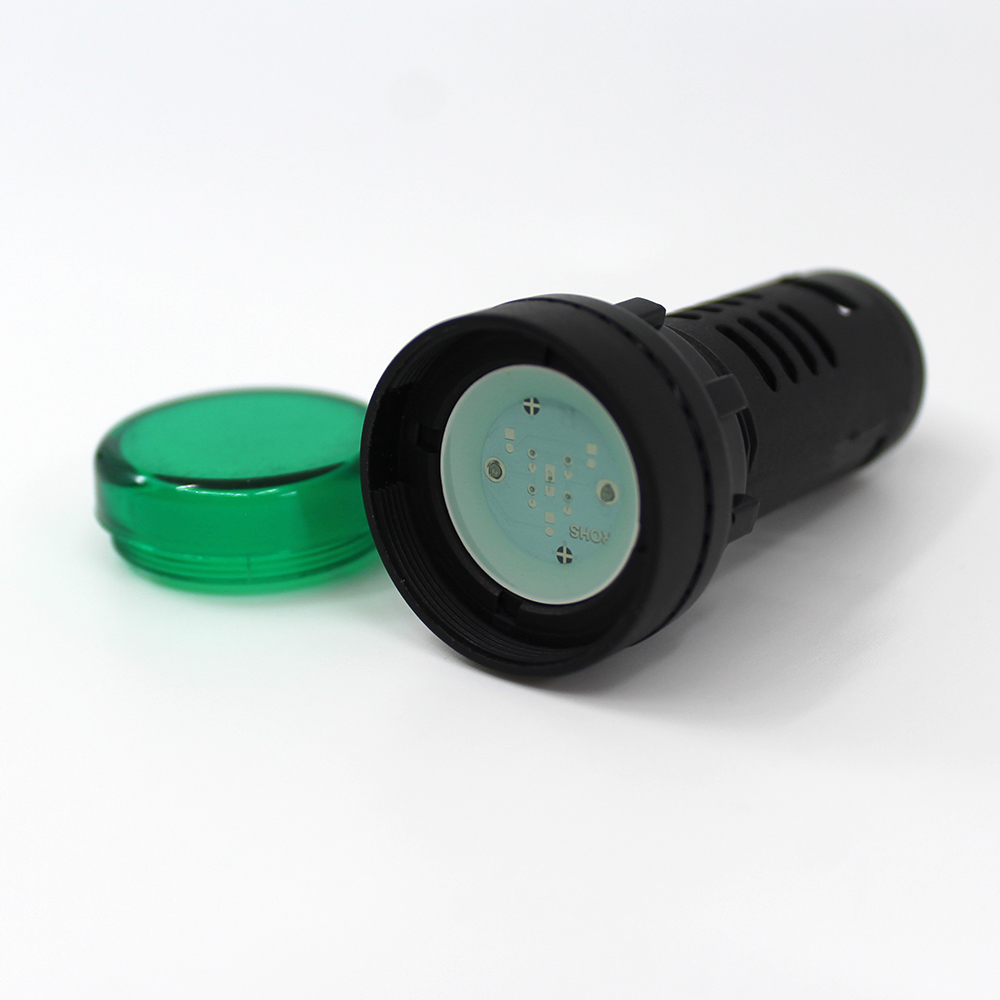
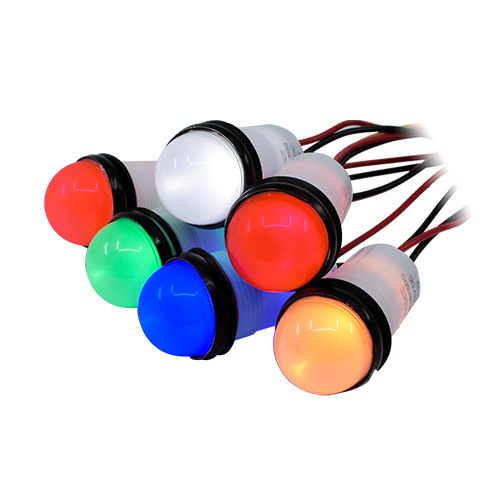
Color
Lens
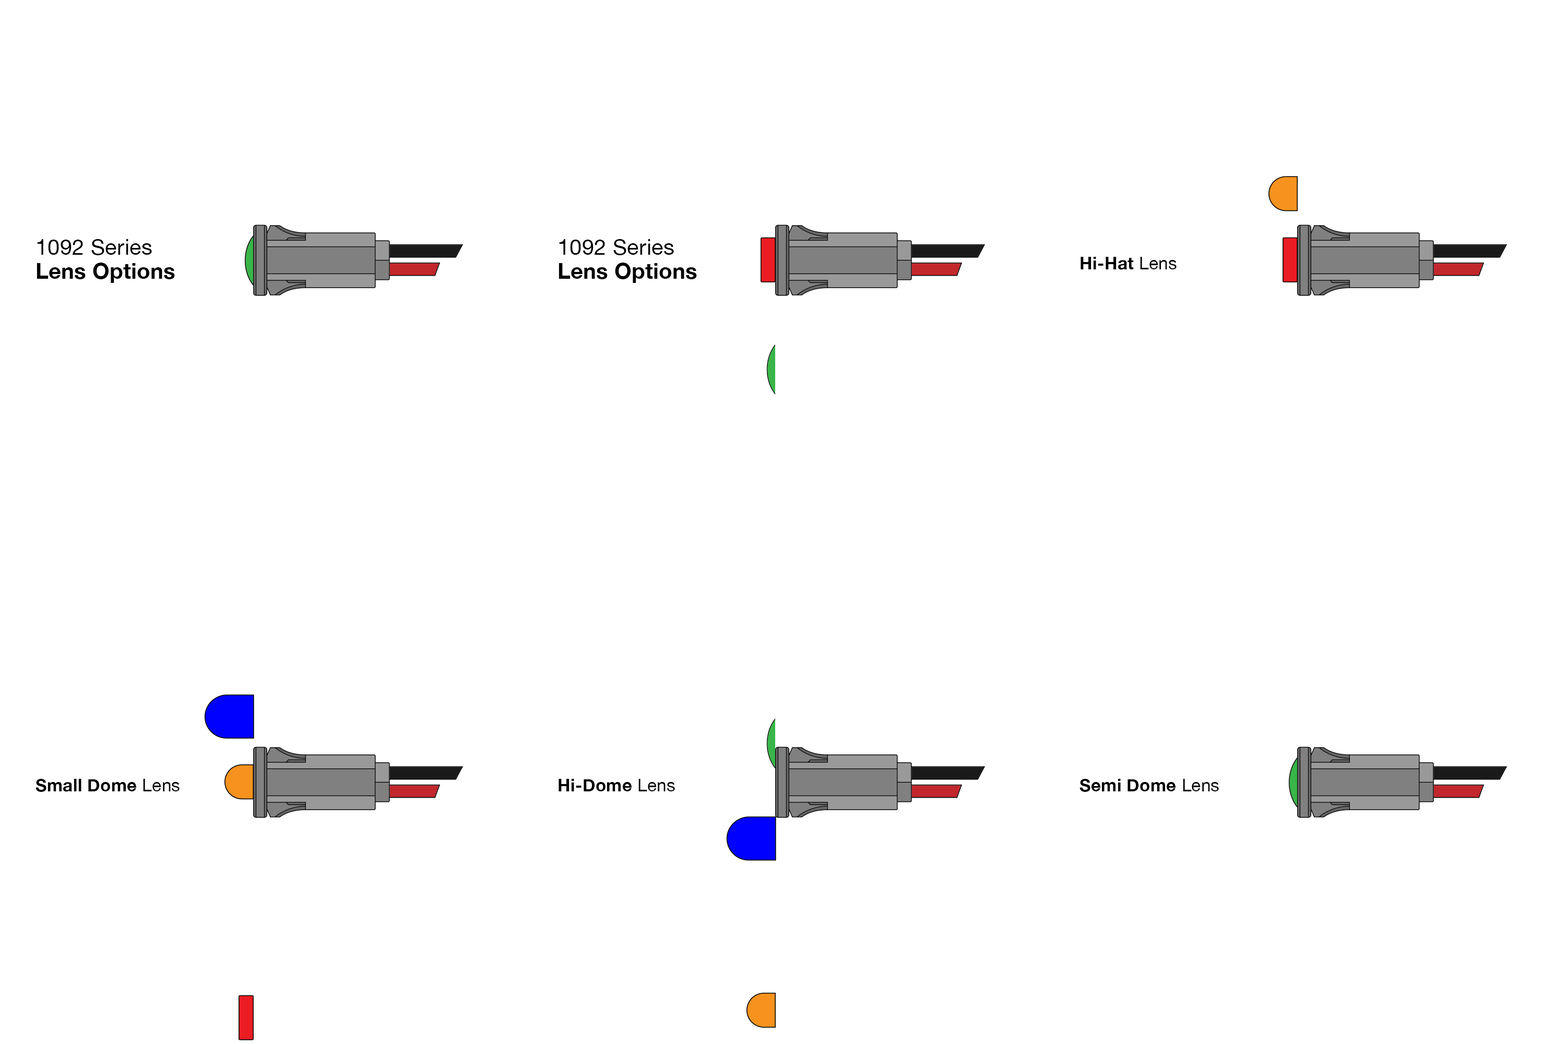
The lens can come in various shapes and colors to provide the desired aesthetics and viewing angle for proper operation.
- Dome - lens is rounded at the top and provides the widest viewing angle
- High-dome - lens extends prominently above the control panel and is rounded at the top
- Semi-dome - mid-range viewing angle compared to dome or flat
- Flat - flush with the panel for more targeted light
- Hi-hat - lens extends well beyond the surface of the HMI while maintaining a flat shape
In some instances, a Fresnel pattern can be used on the lens to help concentrate the light and increase uniformity.
Bezel
A bezel is an optional ring or sleeve that encases the lamp. Using a bezel can be purely aesthetic or increase contrast between the bezel and LED to improve visibility. Bezels can also add a layer of protection from dust and moisture. Bezels are typically made of plastic or stainless steel and available in multiple finishes, styles, and colors.
Bezel color will be dictated by the type of material used. Common colors are:
- White - plastic or metal PMIs
- Black - plastic or metal PMIs
- Silver - stainless / aluminum PMIs only

Mounting Types
PMIs are affixed to the control panel in many ways, each requiring a mounting hole where the indicator can be inserted and attached. Mounting hole sizes vary depending on the device. Typical standard sizes for VCC’s indicators range from 0.16” (3.98mm) to 0.88” (22mm), with the ability to customize the size.
There are several ways a PMI can be attached to the control panel:
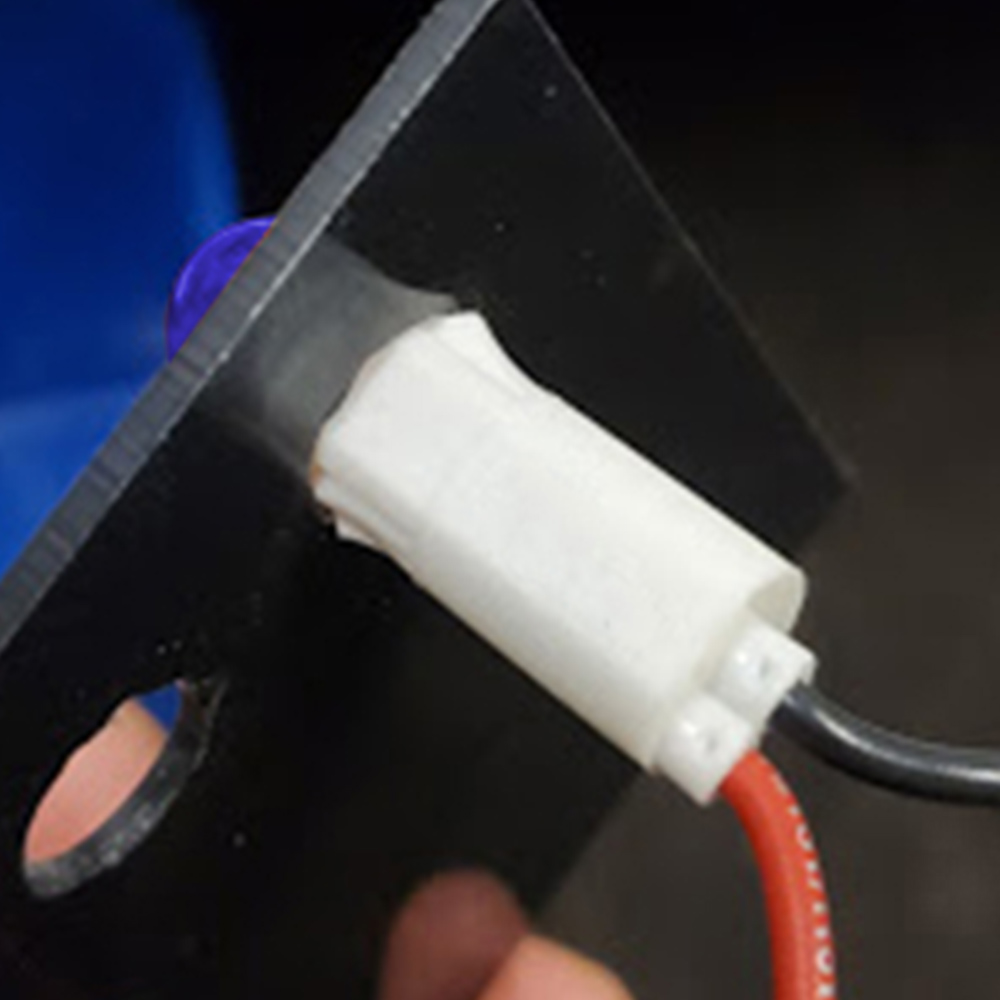
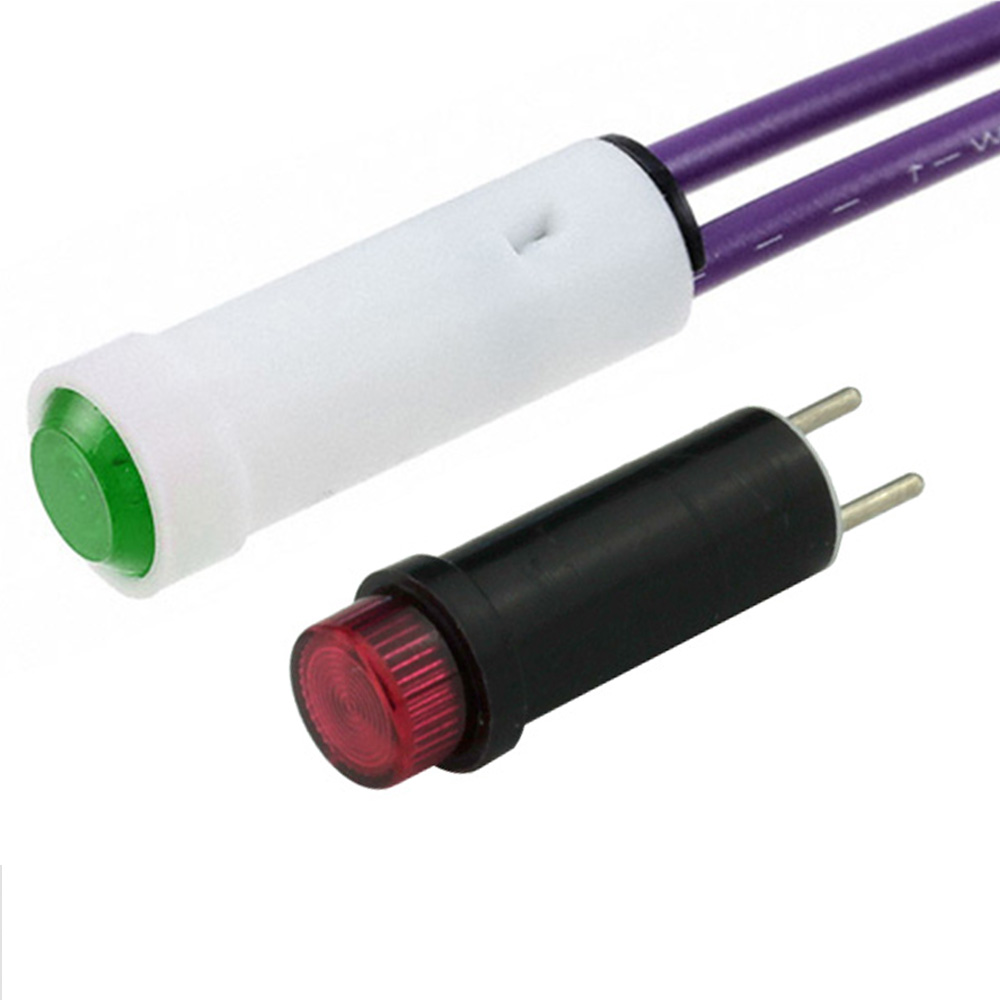
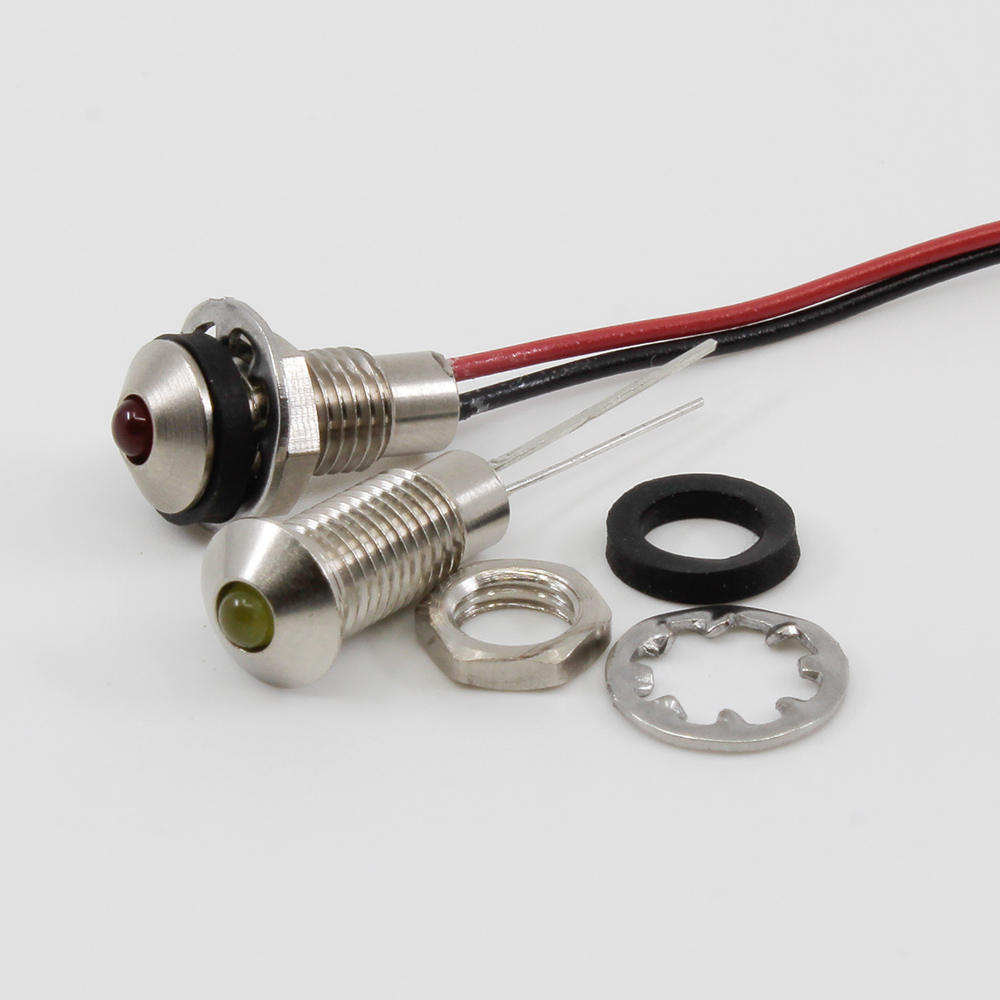
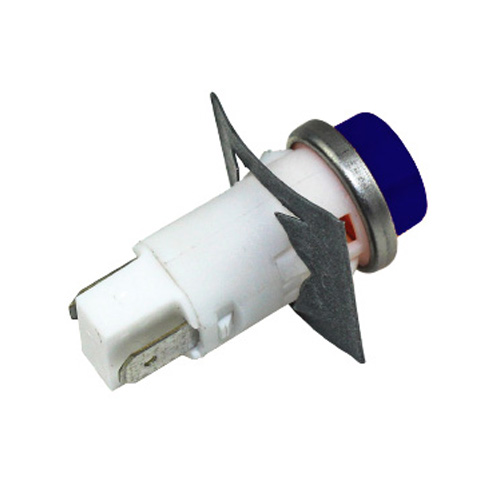
Snap-fit with D Mounting
A D-shaped mounting hole on the panel helps secure the snap-fit PMI to prevent rotation that could impact performance due to vibration. This option is easy to install without additional hardware.
Press-fit
The PMI is secured with the help of friction as the LED housing and panel are pressed together. The interference allowance will determine the tightness of the seal.
Threaded Housing
This mounting helps reduce shock and vibration due to a threaded housing that screws securely into the panel. A hex nut can add additional security.
Speed Nut
A speed nut is an additional accessory used to secure a PMI to the panel and provide extra protection from vibration, dust, or moisture. A benefit of the speed nut is that it holds the PMI in place while allowing it to be easily removed or loosened if needed for maintenance of the device.

Differences Between PMIs & Light Pipes
Status indication is usually provided by using either PMIs or light pipes. They both do essentially the same thing — transmit light from A to B to communicate with the operator. However, there are some key differences, including:
Design flexibility - PMIs are mounted directly to the HMI or panel, so the light doesn’t have to travel very far. This means PMIs have less design flexibility than light pipes, which can be attached to the control panel or the circuit board. However, there are several ways to customize a panel mount indicator.
Space/footprint - depending on the visual communication within the device, space could be an issue. Are there three separate indicators, or a single indicator with a tri-color LED? Both PMIs and light pipes can communicate multiple functions within a single spot on the HMI. PMIs are very popular in industrial applications where individual indicators per function are common, and a heavy-duty panel may require a larger, more robust indicator.
Cost - PMIs typically cost more than light pipes, so if a device has more than two or three indicators, light pipes may be the preferred indicators.
How much does a PMI typically cost?
A panel mount indicator’s cost will vary greatly depending on a range of inputs, including:
- Materials used
- Size
- Working environment/moisture protection
- Device design
- Number of indicators used
- Lens type
- Power needed
- Brightness/intensity
- Terminal type
- Additional hardware
On average, engineers can expect to pay $1 to $6 per unit for a very basic PMI. On the other hand, those with additional features or customization can run $20 each or more.
Consulting with an experienced team of experts can help you compare several options to find the ideal solution for your needs and budget.


Lighting Technology Used in PMIs
PMIs use a variety of lighting sources, including:
- Incandescent
- Neon
- LED
- Any other source dictated by the design and requirements
What to Consider When Choosing a PMI
Working Environment
The conditions where the device will be used must be taken into consideration, as some PMIs are better suited for harsh working conditions than others. Working environment is a collection of the following factors:
Moisture and Dust Protection
While the typical distinction will be outdoor vs. indoor, there are several indoor applications that could expose a device to moisture and dust. Ask yourself:
Will the device be used indoors or outdoors?
Will it be exposed to dust or moisture, whether from rain or harsh cleaning chemicals?
If so, at what pressure and level?
Then, use the IP rating system to help specify the appropriate component. The Ingress Protection, or IP rating system, helps engineers determine how protected a PMI may be from dust or moisture. Also known as International Protection ratings, these numeric scores reflect the sealing effectiveness of electrical enclosures when exposed to unwanted materials like dirt and moisture.
See the chart below for more information on how the IP rating system works:
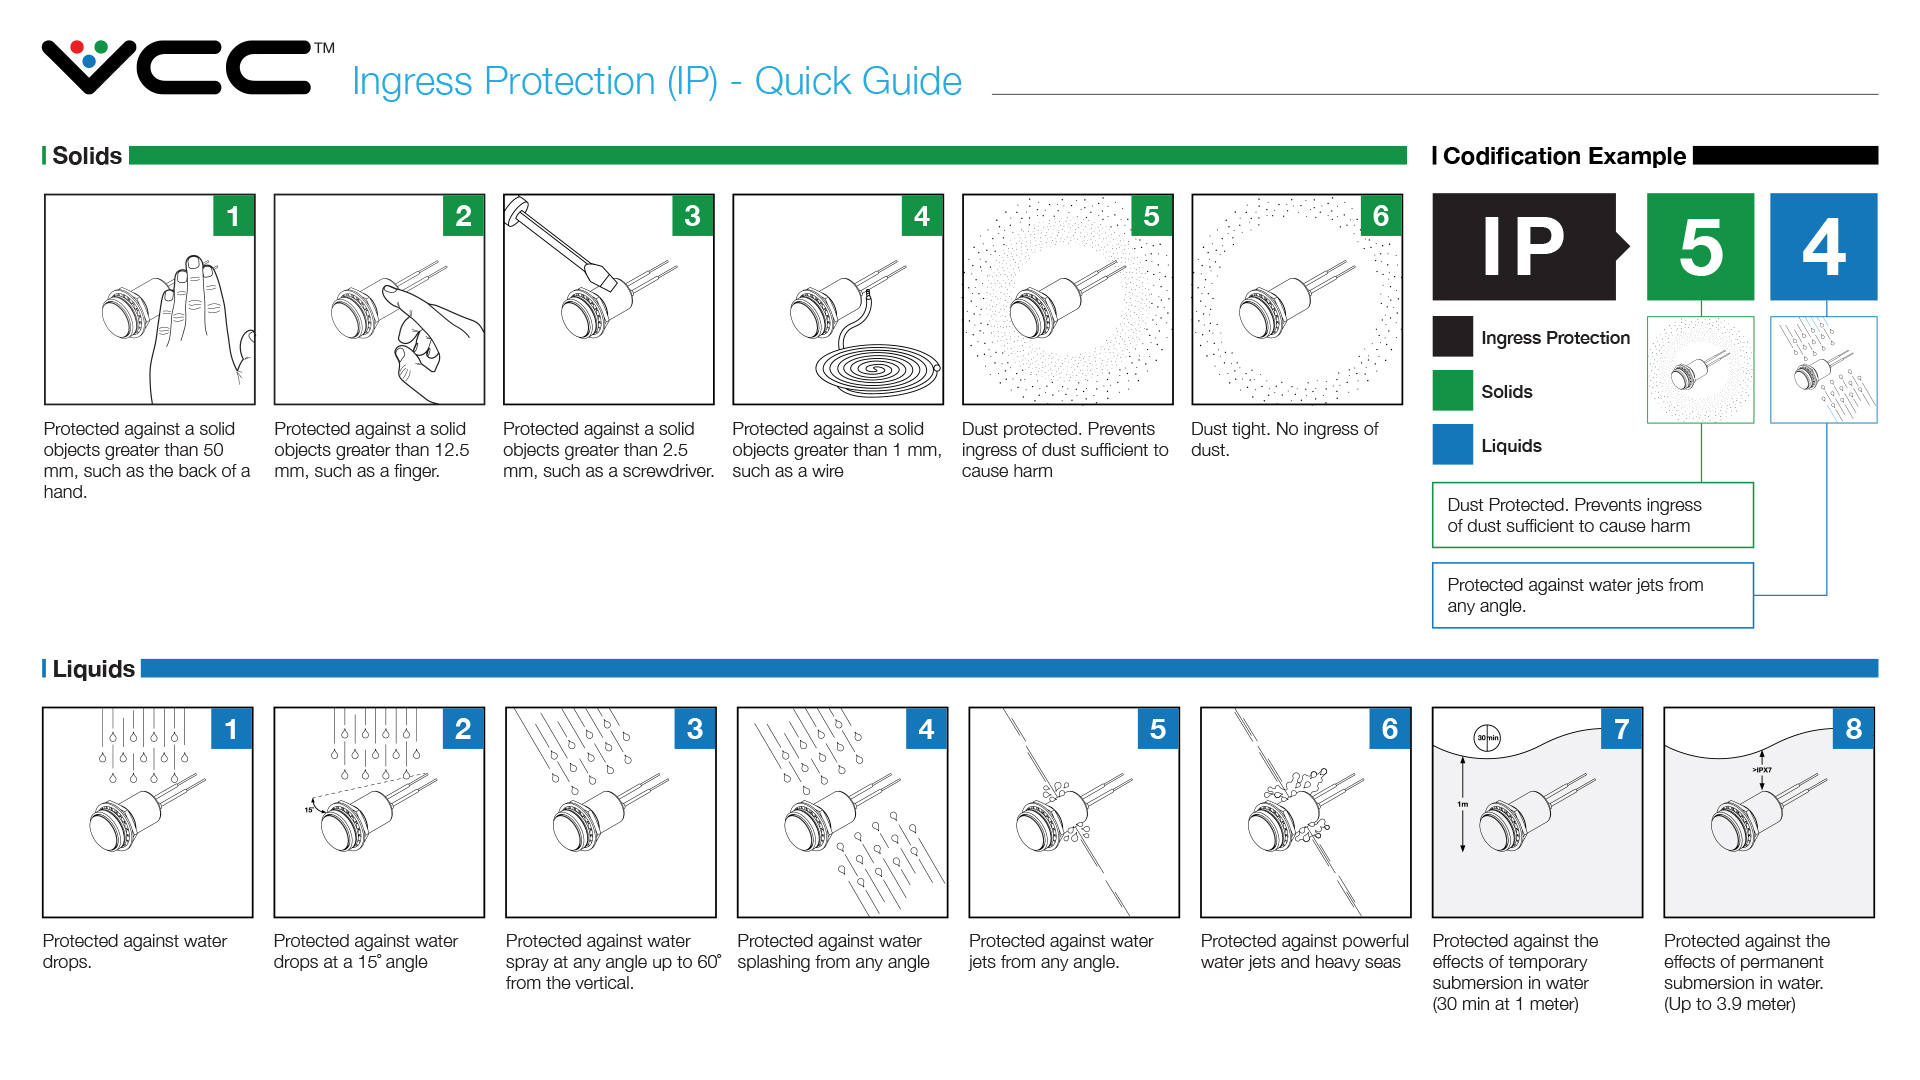
Solids are measured against the size of the particles, while liquids are mature in pressure and type — from drips and sprays to total immersion.
IP ratings will vary by product, but VCC offers many solutions that fall within suitable ranges for a host of applications. For example:
- IP65 - this common rating is dust-tight and protects devices against water projected from a jet at any angle.
- IP67 - for additional protection, this rating is dust-tight and watertight when facing complete submersion in water for 30 minutes, strong gets, and waves.
And if you need even more water protection, additional hardware, such as an O-ring gasket, can help you achieve your IP requirements. Be sure to check out each product’s datasheet for the specific IP ratings and available accessories.
Operating and Storage Temperatures
The operating and storage temperatures are other environmental factors that impact the overall life of a device. Therefore, working and storage temps should be a key design consideration for the PMI.
Average operating range for VCC’s PMIs: -13℉ (-25℃) to 176℉ (80℃), but can be altered by the device design and work environment.
Average storage temperature range for VCC’s PMIs: -22℉ (-30℃) to 212℉ (100℃)
Several factors influence the operating and storage temperatures of a PMI, including the LEDs or lamps themselves.
Some outdoor applications may experience huge ranges in temperatures, especially in construction environments. Safe operating and storage temperatures will always be listed on the datasheet for VCC’s PMIs.
Vibration
Many industrial applications — and some non-industrial ones, too — put extra stress on the device due to vibrations. There are several ways to address this and help prolong the operating life of the device, including:
- Hex nuts or additional hardware to help secure the device in place
- Threaded housing
- D mounting hole prevents rotation
Viewing Angle
In order to determine the viewing angle needed, engineers should consider the many ways a device will be used in the real world.
How will the device be used?
Are the operators standing, sitting, bending down?
How far away will the operator be from the device?
Will daytime visibility be a factor?
Constant communication is the key, so the right viewing angle can help ensure safe operation in a variety of distances and environmental lighting conditions (daytime vs. night).
Viewing angles can be impacted by the following parts of the PMI:
- Lens shape
- Lens texture
- Lamp intensity
- Housing/Bezel
- Finish
Power Requirements
Panel mount indicators can accommodate a wide range of power requirements, depending on your device’s design. VCC has options ranging from 2V all the way to 240VAC.
So, when do you use which voltages?
- Low voltage - most devices that use LED PMIs can operate at a lower voltage.
- High voltage - more power is required for industrial machines, such as a commercial grill or dishwasher. VCC has a range of high-voltage PMIs available in both LED and neon. The LED option is great for updating high-voltage neon devices with longer-lasting lamps.
- Flexible voltage - instead of a fixed power setting, indicators with flexible voltage can accommodate a range of needs. Flexible or flex voltage PMIs are an excellent way for OEMs to save money by specifying the same PMI for multiple devices, each with varying power requirements.
Consider this example:
Our PML50 Series PMIs can operate in voltages from 5 to 28 VDC, offering greater savings and efficiencies to manufacturers with multiple product designs.
Application
User Experience
While the user interface (UI) design incorporates the look, feel, and functionality of a device, the user experience (UX) is the type of outcome(s) operators have with your product.
Effective UX design starts when engineers center every aspect around the operator. How will the device be operated in the real world, whether it’s a lab or industrial jobsite?
For the ideal UX design, remember to:
- Put yourself in the user’s shoes
- Conduct usability testing
- Keep it as simple as possible
- Factor in human error
Learn more about designing for user interface and user experience in this guide.
Visual Language
The visual language of a device is the combination of light, color, and sometimes text or icons to communicate various functions of a device.
This visual vocabulary should take several factors into account, including:
- Simplicity: Intuitive operation drives safe operation
- Design footprint: How many indicators are needed? How much room do you have? What’s the budget?
- Branding/aesthetics: Should the colors complement the established brand?
- User experience: Will the operator be standing across the room? Seated? How will they use the device in the real world?
- Operator knowledge: There’s a good chance some of the other machines an operator would use already exist with visual vocabulary your end-users already understand. Or, there may be other colors they have already gotten used to, such as the colors of a traffic light. Common examples include:

How Will Your PMI(s) Communicate with the End-User?
Separate Indicators for Every Function
Depending on the budget, application, complexity of the device, and space on the interface, leveraging individual indicators for each separate function could be the appropriate HMI design.
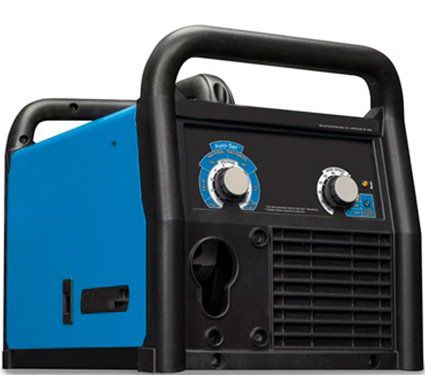
This portable welder communicates with operators by using blue for proper usage and yellow to indicate an issue with the device overheating.
Using more than a few individual PMIs on an interface can be cost-prohibitive. Fortunately, there are ways to communicate multiple functions with fewer indicators.
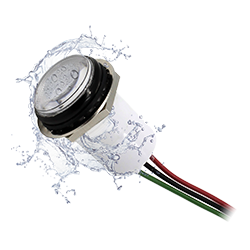
For devices with limited space on the control panel or interface, using a single indicator with a bi-color or tri-color LED can be ideal for communicating multiple functions with end-users in a single indicator. In addition to consolidating space on the HMI, designers can streamline the look and reduce production costs.
A single indicator can be used to communicate multiple functions to save space and money using changing colors, or even the cadence of light patterns, or a combination of the two.
Here’s how the Whistle pet tracker uses color and cadence to communicate a variety of functions:
- Pulsing blue (slow) – during set up, while the device is connecting to Bluetooth
- Blinking blue (fast) – while the app is open near the Whistle tracker or during a family trip, transferring data via Bluetooth
- Blinking red or amber/orange – tracker’s battery is very low and needs to be charged
- Solid amber/orange – tracker is charging
- Solid green – tracker is fully charged
- Blinking green – tracker is updating location (during Track or Locate)
Last but not least, the HMI design and overall footprint of the device should be considered when choosing a PMI.
Some design decisions may be limited due to the size and footprint of the device itself. If there’s limited space, bi-color or tri-color options may be needed in smaller mounting sizes.
If the panel is made for heavy-duty industrial applications, a larger PMI housing or additional bezel may be needed. The sooner engineers and designers determine these design inputs, the better off the final product will be — from fewer design constraints to optimized assembly and production costs.
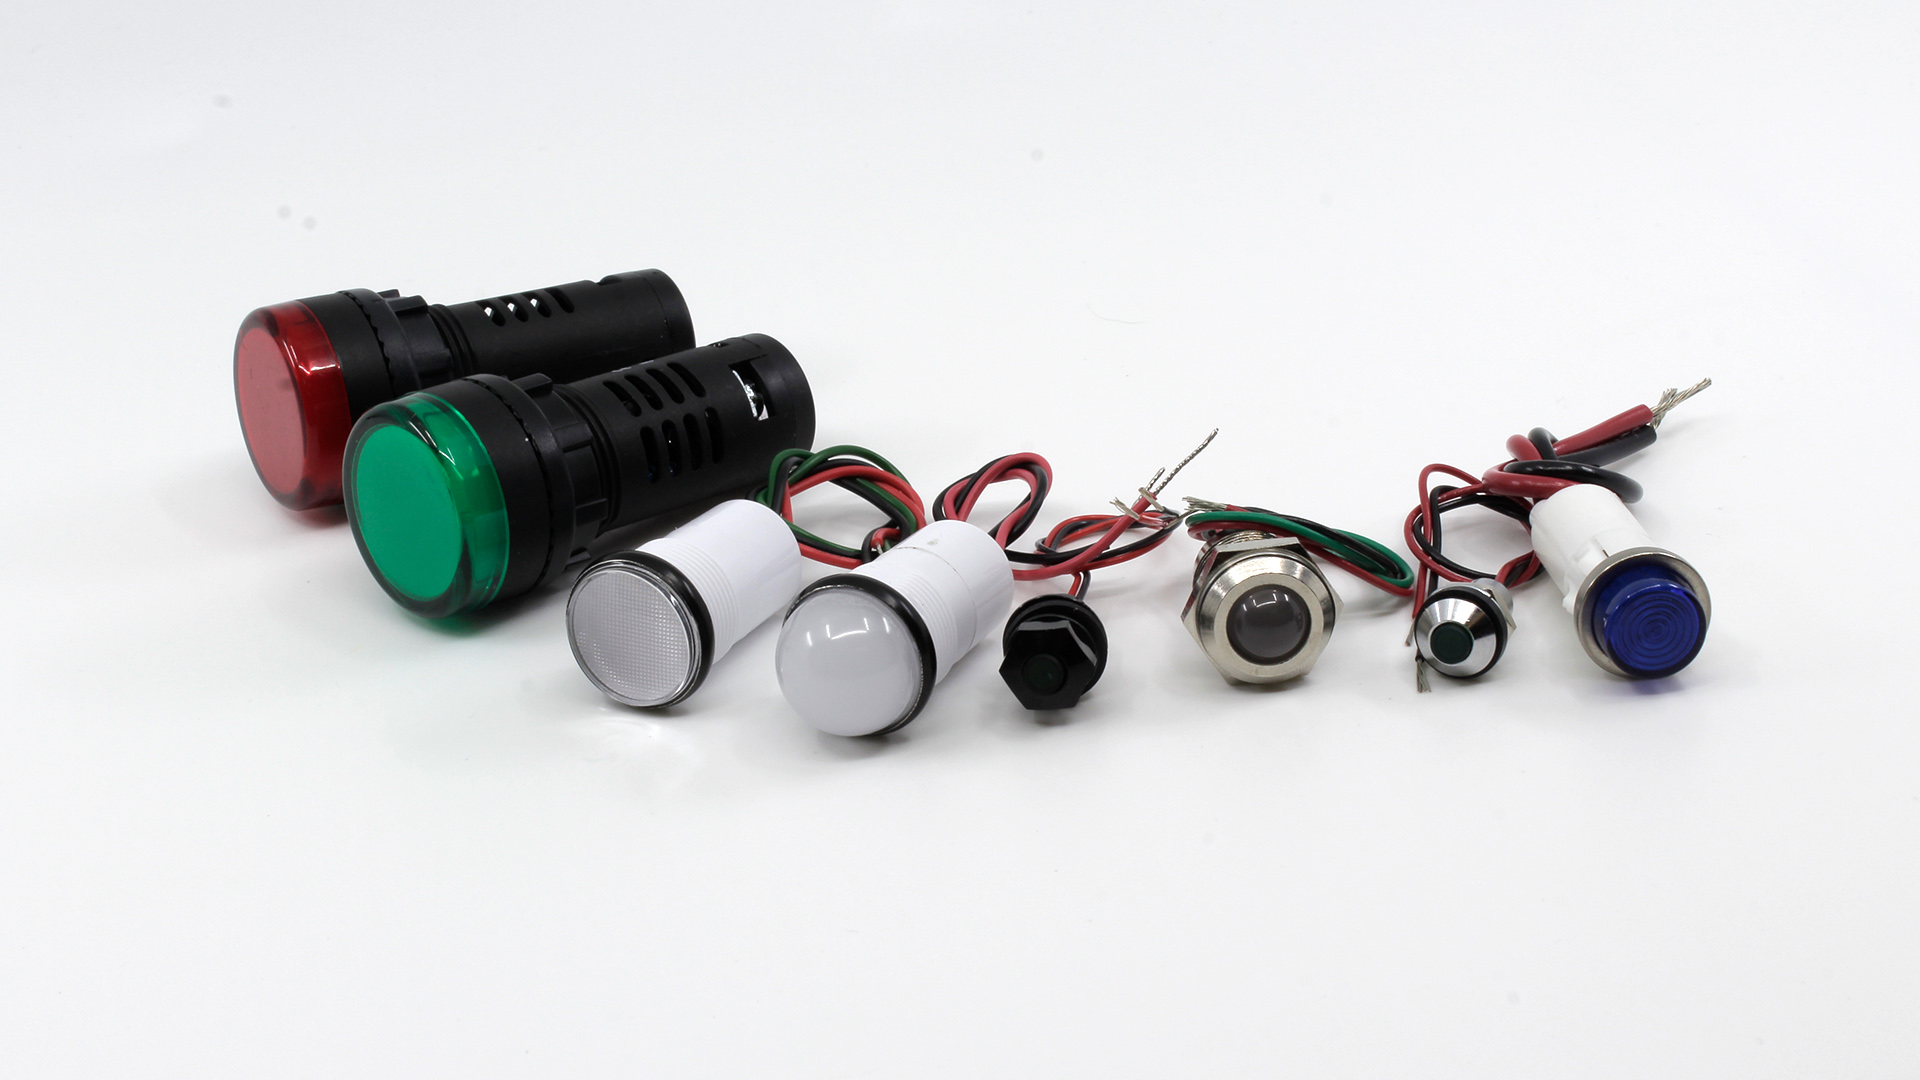
While there are countless standard PMI products available, there may be instances where customization is needed.
At VCC, we make it simple to get the exact PMI for your specifications — whether it’s modifying a standard product, using our Build Your Own Indicator option, or developing something completely custom.
Making modifications to an existing panel mount indicator technically counts as customization. However, we help customers easily and efficiently update standard products, including:
- Wire length
- Terminals
- LED intensity
- Lens color
- Lens type
- Bi-color, tri-color indication
- Solderless assembly
- Options for moisture resistance
- Finish
- Connectors/cables
Using our versatile CNX Series, clients can configure a unique LED socket to panel connection for any 3mm, 5mm, and 10mm LED with 1,000 configuration options available with our Build Your Own Indicator option.
And for modifications outside of the CNX Series, our team has deep expertise to help modify another PMI product to save you time and money or build a from-scratch solution to find the ideal indicator for your requirements.
In addition to the modifications listed above, engineers can also tweak:
- Mounting hole size
- Power / voltage requirements
- Lighting technology
- IP/NEMA rating
- And much more (just ask!)
And if a full custom design is needed, we can help you determine the perfect solution for your application.
- It all starts with a conversation to understand your unique needs:
- We ask the right questions early on.
- We think through your entire production and assembly processes and look for opportunities to streamline production, simplify the interface, and reduce costs.
- We apply decades of industry knowledge in optical, electrical, and mechanical design to determine the right indicator(s) for your device.
VCC also provides cable assembly and wire harnessing services, including:
- Cable crimping
- Cutting
- Harnessing
- Heat shrink tubing
- Final product assembly
Let us streamline your supply chain, reduce production costs, and get you to market faster!
While there are countless standard PMI products available, there may be instances where customization is needed.
At VCC, we make it simple to get the exact PMI for your specifications — whether it’s modifying a standard product, using our Build Your Own Indicator option, or developing something completely custom.
Making modifications to an existing panel mount indicator technically counts as customization. However, we help customers easily and efficiently update standard products, including:
- Wire length
- Terminals
- LED intensity
- Lens color
- Lens type
- Bi-color, tri-color indication
- Solderless assembly
- Options for moisture resistance
- Finish
- Connectors/cables
Using our versatile CNX Series, clients can configure a unique LED socket to panel connection for any 3mm, 5mm, and 10mm LED with 1,000 configuration options available with our Build Your Own Indicator option.
And for modifications outside of the CNX Series, our team has deep expertise to help modify another PMI product to save you time and money or build a from-scratch solution to find the ideal indicator for your requirements.
VCC also provides cable assembly and wire harnessing services, including:
- Cable crimping
- Cutting
- Harnessing
- Heat shrink tubing
- Final product assembly
Let us streamline your supply chain, reduce production costs, and get you to market faster!
In addition to the modifications listed above, engineers can also tweak:
- Mounting hole size
- Power / voltage requirements
- Lighting technology
- IP/NEMA rating
- And much more (just ask!)
And if a full custom design is needed, we can help you determine the perfect solution for your application.
It all starts with a conversation to understand your unique needs:
- We ask the right questions early on.
- We think through your entire production and assembly processes and look for opportunities to streamline production, simplify the interface, and reduce costs.
- We apply decades of industry knowledge in optical, electrical, and mechanical design to determine the right indicator(s) for your device.
A Proven Partner in Custom PMI Design
VCC has extensive experience in helping clients improve the reliability and efficiency of their panel mount indicators while maximizing efficiencies.
VCC also provides cable assembly and wire harnessing services, including:
- Cable crimping
- Cutting
- Harnessing
- Heat shrink tubing
- Final product assembly
Let us streamline your supply chain, reduce production costs, and get you to market faster!
For example, we helped one industrial electric motor starter OEM upgrade from neon to energy-efficient LED PMIs with the exact specifications required, plus the benefits of:
- Up to 50% savings in energy consumption
- An LED lamp that lasts 4x longer than its neon predecessor
- Streamlined production with snap-fit design
- High visibility for enhanced operator safety
- Upgrading an existing motor starter unit with a custom PMI instead of a new product design
It may seem like panel mount indicators are a commodity, and the lowest unit price should be the determining factor in supplier selection. However, the supplier you choose can impact many aspects of the end result, including:
- Production costs - from how the product is designed to assembly efficiencies, the right partner can help you save in production.
- Design costs - maybe tailoring an existing product would be better than a full custom job — working with industry experts can help you make a more informed decision.
- Product quality - the quality of the PMI can enhance or diminish overall quality, and therefore your reputation. Partner with an OEM that adheres to the appropriate regulatory standards and certifications.
- User experience - working with a skilled team can help you optimize the user experience, from the visual language to viewing angle.
- Operator safety - the better an HMI is designed, the safer its operation will be. Work with the right team to ensure optimal viewing and constant, reliable indication to help improve reaction times and reduce errors.
Delivery times - working with a nearshore manufacturer can shorten time to market and eliminate supply chain disruptions associated with overseas manufacturing. For example, VCC products are manufactured in our state-of-the-art facility in Mexico, providing greater visibility, quality, and control for our clients.
Be sure to look for a proven supplier with the skills, in-house capabilities, and quality standards to meet or exceed your design requirements, timeline, and budget.
PMIs can be a great way to ensure safe, reliable status indication in a range of industries. We hope this guide helps you ask the right questions early on to drive the best possible outcomes.
If you have questions about your specific project, please reach out to our multidisciplinary team for support.


